I’ve got a great guide for you on how to clean those pesky burnt non-stick pans. Trust me, I’ve been there too!
In this article, we’ll tackle the steps together and make your pan shine like new. From assessing the damage to preventing future sticking and burning, I’ve got all the tips and tricks you need.
Key Takeaways
- Assess the extent of burn marks and residue buildup on the pan, including any scratches or discoloration, to determine the cleaning method needed.
- Soak the pan in hot soapy water or a mixture of water and vinegar to soften burnt food and remove leftover oil or grease before scrubbing with a non-abrasive sponge.
- Consider using baking soda and water paste or a mixture of vinegar and baking soda to remove stubborn burnt residue, letting the mixture sit before scrubbing gently with a brush or sponge.
- Use specialized non-stick pan cleaner for removing stubborn stains and build-up, following the instructions and choosing non-toxic cleaning solutions.
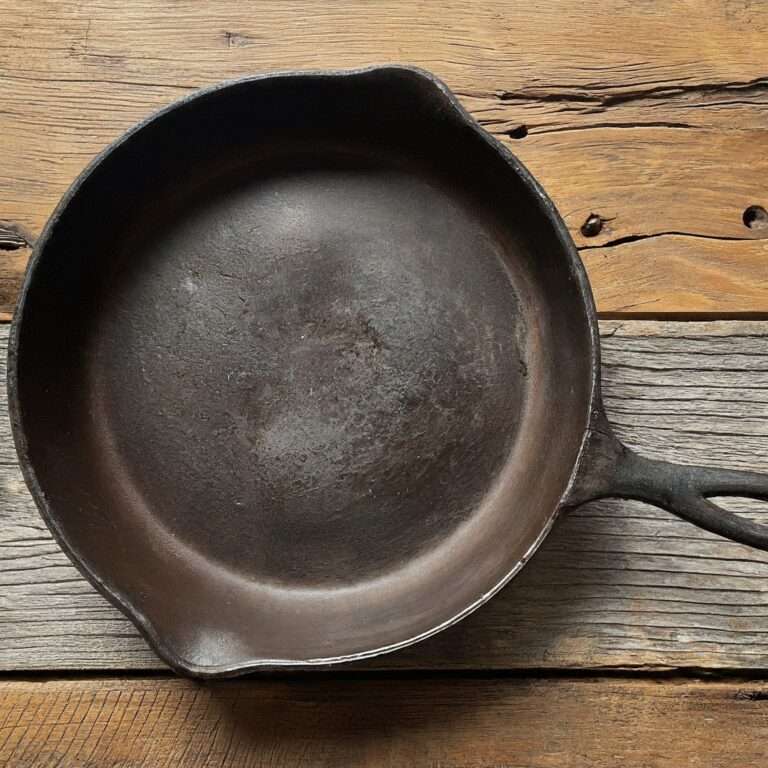
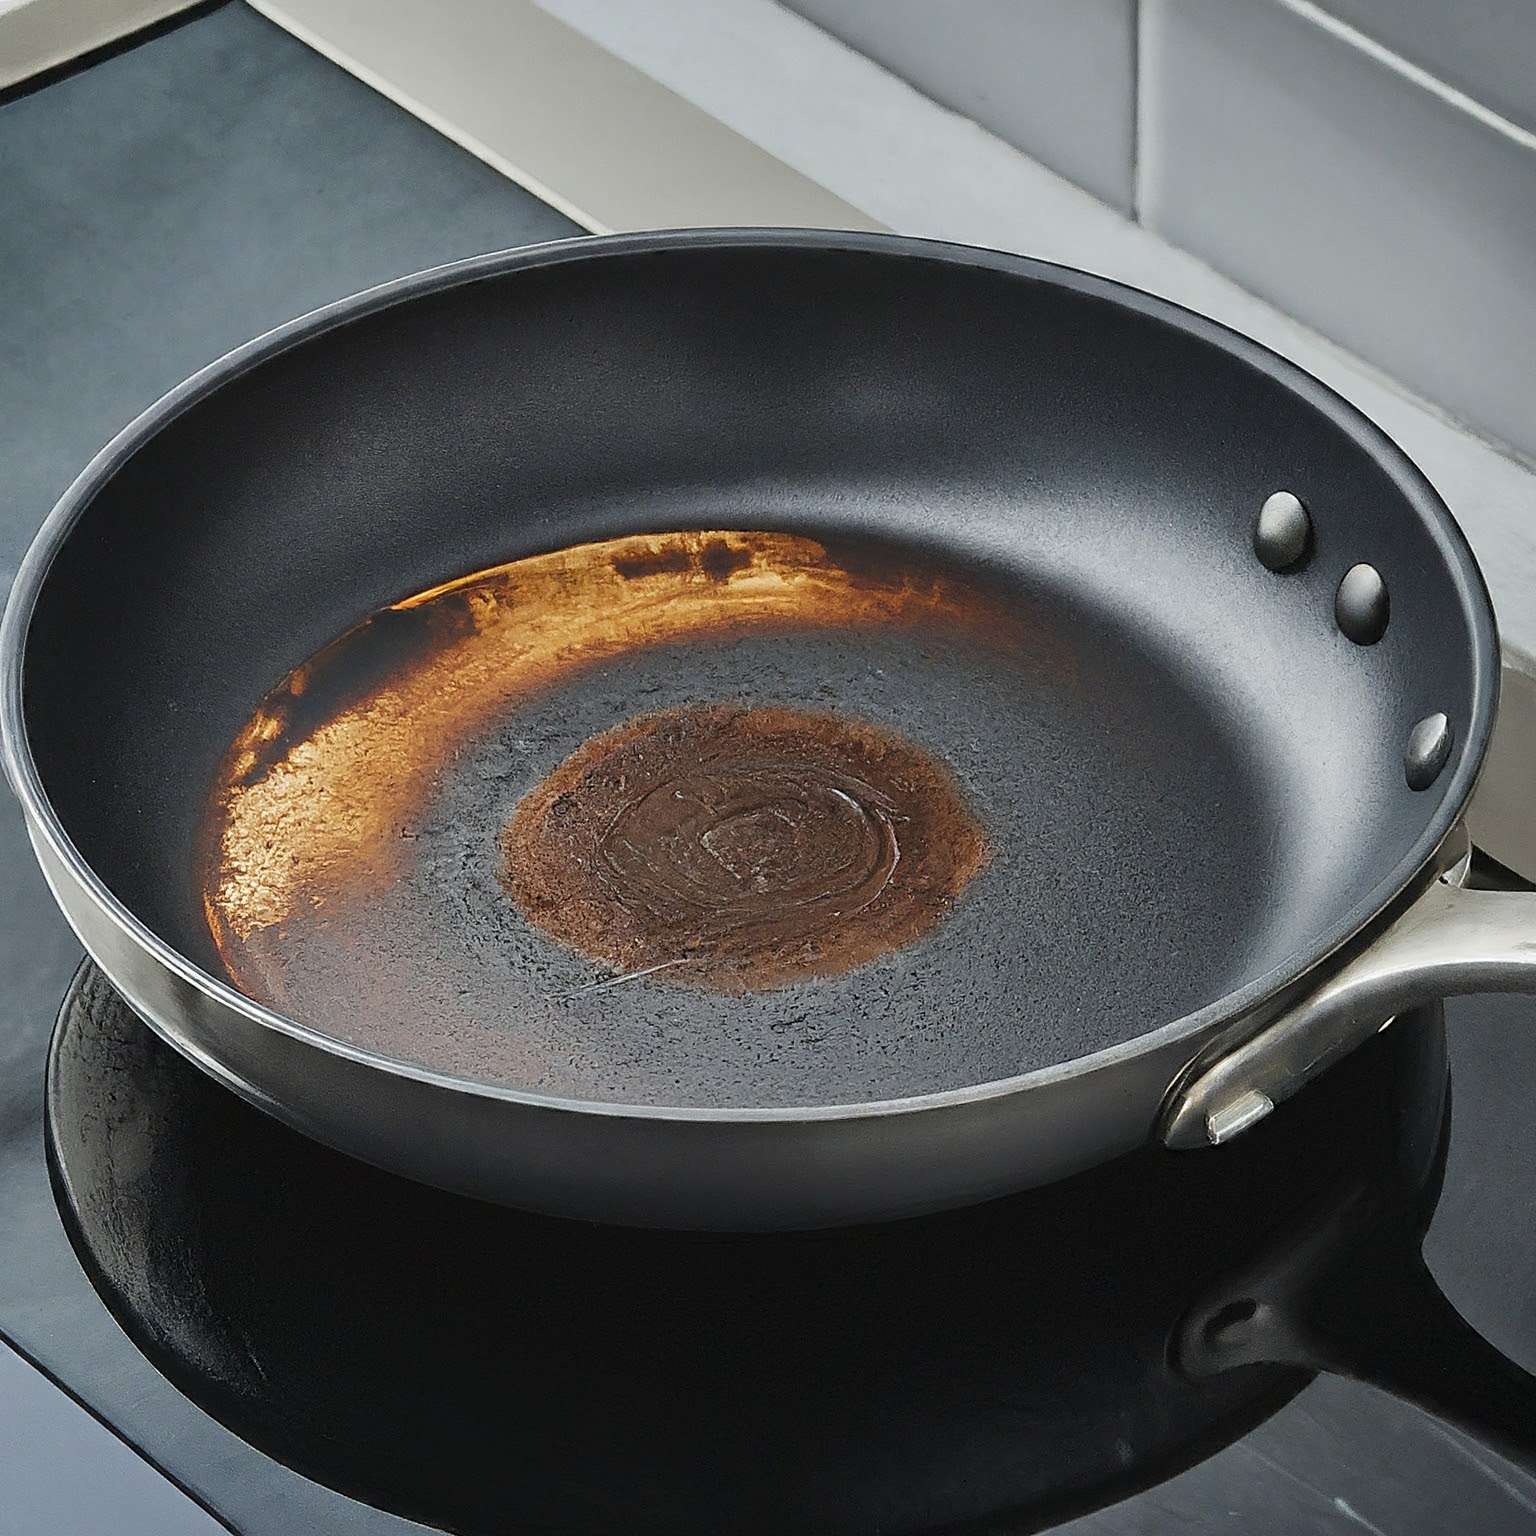
Assess the Damage
First, you’ll need to assess how much damage has been done to your burnt non-stick pan. Assessing the damage is crucial in determining the best course of action for effective cleaning techniques.
Start by examining the extent of the burn marks and residue buildup on the surface of the pan. Look for any scratches or discoloration as well. This initial assessment will help you gauge how stubborn the burnt-on food is and whether it has damaged the non-stick coating.
Once you have a clear understanding of the damage, you can choose an appropriate cleaning method to tackle the problem. Remember, different levels of damage may require different approaches, so it’s essential to accurately assess before proceeding with any cleaning technique.
Soak the Pan in Hot Soapy Water
Next, you’ll want to let the pan soak in hot soapy water. This step is crucial in ensuring that the burnt residue loosens up and becomes easier to remove. Here’s why soaking the pan is important:
- Softening the burnt food: Letting the pan soak allows the hot soapy water to penetrate through the layers of burnt food, making it easier to scrub away later.
- Assessing damage: While the pan is soaking, take this time to assess any damage caused by excessive heat or scratches from utensils. This will help you determine if it’s time for a replacement.
- Preventing build-up: Soaking also helps prevent future build-up by removing any leftover oil or grease on the surface of the pan.
- Saving elbow grease: By allowing the pan to soak, you’re giving yourself a head start in terms of cleaning effort, as some of the burnt bits may come off effortlessly.
Use Baking Soda and Water Paste
Now, you can easily remove the stubborn residue by mixing baking soda and water to create a paste. This natural cleaning solution is not only effective but also gentle on your non-stick pans.
However, if you’re looking for baking soda alternatives, there are a few options to consider. One alternative is white vinegar. It has acidic properties that help break down burnt food particles and grease.
Another option is lemon juice. The citric acid in lemons acts as a natural degreaser and stain remover.
You can also try using cream of tartar mixed with water to create a paste. This mild abrasive will help scrub away the burnt-on residue without damaging the surface of your pan.
Scrub With a Non-Abrasive Sponge
To effectively remove residue from your pans, gently scrub with a sponge that won’t scratch the surface. Here are some tips to consider when assessing damage and preventing scratching:
- Choose the right sponge: Look for non-abrasive sponges specifically designed for non-stick surfaces. These sponges have soft bristles that won’t cause any damage.
- Test it first: Before using a new sponge on your pan, test it on a small area to make sure it doesn’t leave any scratches or marks.
- Use light pressure: Apply gentle pressure while scrubbing to avoid causing any additional damage to the pan’s surface.
- Avoid abrasive cleaners: Harsh chemicals and abrasive cleaners can cause scratches on non-stick pans, so opt for mild dish soap and warm water instead.
Try Vinegar and Water Solution
You can easily remove residue from your pans by trying a vinegar and water solution. I’ve discovered that vinegar has many benefits when it comes to cleaning, and this simple hack is no exception.
All you need to do is mix equal parts of vinegar and water in a spray bottle. Then, generously spray the solution on the burnt residue in your non-stick pan. Let it sit for a few minutes to allow the vinegar to work its magic. The acidity in the vinegar helps break down the burnt-on food, making it easier to scrub away.
Afterward, use a non-abrasive sponge or brush to gently scrub away the residue. Rinse with warm water and voila! Your pan will be clean and ready for use again.
This cleaning hack has saved me so much time and effort, and I highly recommend giving it a try!
Use a Specialized Non-Stick Pan Cleaner
When it comes to cleaning non-stick pans, I have found that using effective cleaning methods is key.
One method that has worked well for me is using a specialized non-stick pan cleaner. This not only helps remove any stubborn stains or build-up, but also prevents future build-up from occurring.
Effective Cleaning Methods
One effective method for cleaning burnt non-stick pans is using a mixture of vinegar and baking soda. This cleaning hack not only removes stubborn stains but also provides a non-toxic cleaning solution.
Here’s how to do it:
- Sprinkle a generous amount of baking soda on the burnt areas of the pan.
- Pour white vinegar over the baking soda, causing it to fizz and bubble.
- Let the mixture sit for about 15-20 minutes to loosen the burnt residue.
- Use a scrub brush or sponge to gently scrub away the loosened debris.
Preventing Future Build-Up
To prevent future build-up on your cookware, I always make sure to regularly apply a thin layer of cooking oil before each use. This simple step not only helps in preventing rusting but also plays a vital role in maintaining the non-stick coating of the pans.
By applying cooking oil, it forms a protective barrier that prevents food from sticking and burning onto the surface. It also helps to reduce friction between the food and the pan, making it easier to flip or slide ingredients while cooking.
Additionally, this practice enhances heat distribution and ensures even cooking. So, don’t forget to give your pans some love by giving them a quick oiling before every use – it’s the secret to keeping them in tip-top shape!
Apply a Layer of Dish Soap and Let It Sit
First, I apply a layer of dish soap to the burnt non-stick pan and let it sit for a while. This is one of the most effective homemade cleaning solutions for removing burnt food particles. Here’s how it works:
- Start by filling the sink with hot water and adding a few drops of dish soap.
- Pour some dish soap directly onto the burnt areas of the pan, making sure to cover them completely.
- Let the dish soap sit on the pan for at least 30 minutes or longer if needed.
- After letting it sit, scrub the pan gently with a sponge or non-abrasive brush to remove any loosened food particles.
Utilize a Magic Eraser
Using a magic eraser can effectively remove stubborn stains from your cookware. However, if you don’t have one on hand or prefer alternative cleaning methods, there are a few options to consider.
One of the best magic eraser alternatives is baking soda. Simply sprinkle some onto the stained area and add a little water to create a paste. Gently scrub the paste onto the stain using a soft cloth or sponge.
Another effective alternative is white vinegar. Mix equal parts vinegar and water in a spray bottle and spritz it onto the stain. Let it sit for a few minutes before wiping it away with a cloth or sponge.
These alternative cleaning methods can be just as effective as using a magic eraser, giving you clean and spotless cookware without much effort or expense.
Try a Homemade Citrus Cleaner
If you’re looking for a natural and effective cleaning solution, try making your own citrus cleaner. It’s easy to make and has numerous benefits over store-bought chemical cleaners. Here are four reasons why homemade citrus cleaner alternatives are the way to go:
- Environmentally friendly: Using natural cleaners reduces your carbon footprint and minimizes the use of harmful chemicals that can harm the environment.
- Cost-effective: Homemade citrus cleaners are much cheaper than commercial options, saving you money in the long run.
- Pleasant scent: Citrus fruits like lemons and oranges leave behind a refreshing scent that lingers after cleaning, creating a pleasant atmosphere in your home.
- Safe for surfaces: Unlike some harsh chemical cleaners, homemade citrus cleaner alternatives won’t damage or discolor surfaces, making them suitable for a wide range of materials.
Use a Nylon Scrub Brush
When it comes to scrubbing techniques for pans, I find that using a nylon brush is incredibly effective. Not only does it help remove tough residue and burnt-on food, but it also helps to protect the surface of the pan from scratches.
The benefits of using a nylon brush include its durability, versatility, and ease of cleaning after use.
Scrubbing Techniques for Pans
To scrub your burnt non-stick pan, start by gently scraping off any large food particles with a wooden spatula. After that, follow these techniques to get your pan looking as good as new:
- Use a scrub brush: The benefits of using a scrub brush are that it helps to remove stubborn burnt-on food without scratching the non-stick surface.
- Hot water and dish soap: Fill the pan with hot soapy water and let it soak for a few minutes before scrubbing. This will help loosen the burnt residue.
- Baking soda paste: Create a paste using baking soda and water, then apply it to the burnt areas of the pan. Let it sit for 15-20 minutes before scrubbing away the residue.
- Lemon juice and salt: Squeeze fresh lemon juice onto the burned parts of the pan, sprinkle some salt over it, and let it sit for a few minutes. Then use a scrub brush to remove the burnt stains.
These alternative cleaning methods can be effective in tackling tough stains on your non-stick pans while keeping them in great condition.
Benefits of Nylon Brushes
Using a nylon brush has several advantages. It prevents scratches on the surface and effectively removes stubborn residue. When it comes to cleaning burnt non-stick pans, I find that using a nylon brush is the best option. The bristles are gentle enough not to damage the non-stick coating, yet strong enough to tackle tough stains. One of the main benefits of using a nylon brush is that it prevents scratches on the pan’s surface. Other alternatives like steel wool or abrasive sponges can cause damage and reduce the lifespan of your pan.
Nylon brushes are also great at removing stubborn residue without much effort. They easily reach into crevices and corners, ensuring a thorough clean every time. Overall, using a nylon brush is an effective and safe way to keep your pans in top shape without causing any harm or scratches.
Try a Non-Stick Pan Rescue Spray
You can easily try a non-stick pan rescue spray to clean your burnt non-stick pans. I’ve found this method to be very effective in maintaining my non-stick pans and removing stubborn burnt-on food. Here are four reasons why you should give it a try:
- Convenience: Non-stick pan rescue sprays are readily available in stores, making them a convenient option for cleaning your pans.
- Easy to use: Simply spray the rescue spray onto the burnt areas of your pan and let it sit for a few minutes. Then, wipe away the residue with a sponge or cloth.
- Effective cleaning power: These sprays are specially formulated to break down burnt food particles without damaging the non-stick coating of your pans.
- Versatile: Non-stick pan rescue sprays can also be used on other kitchen appliances like griddles or waffle makers that have non-stick surfaces.
With these alternative cleaning methods, you can keep your non-stick pans looking their best while ensuring they last for years to come.
| Method | Description |
|---|---|
| Assess the Damage | Examine the extent of burn marks and residue buildup on the pan, including scratches or discoloration, to determine the appropriate cleaning method. |
| Soak the Pan in Hot Soapy Water | Let the pan soak in hot soapy water to soften burnt food and remove leftover oil or grease, making it easier to scrub away later. |
| Use Baking Soda and Water Paste | Create a paste with baking soda and water to effectively remove stubborn burnt residue without damaging the non-stick coating of the pan. |
| Scrub With a Non-Abrasive Sponge | Gently scrub the pan with a non-abrasive sponge specifically designed for non-stick surfaces to remove residue without causing scratches. |
| Try Vinegar and Water Solution | Spray a mixture of equal parts vinegar and water on the burnt residue, let it sit for a few minutes to break down the burnt-on food, then scrub away with a sponge or brush. |
| Use a Specialized Non-Stick Pan Cleaner | Utilize a specialized cleaner designed for non-stick pans to effectively remove stubborn stains and prevent future build-up, following the manufacturer’s instructions. |
| Apply a Layer of Dish Soap and Let It Sit | Apply dish soap to the burnt areas of the pan and let it sit for at least 30 minutes to loosen burnt food particles before gently scrubbing with a sponge or brush. |
| Utilize a Magic Eraser | Use a magic eraser or alternatives like baking soda or white vinegar to remove stubborn stains from the pan’s surface. |
| Try a Homemade Citrus Cleaner | Create a natural citrus cleaner using lemon or orange peels, vinegar, and water to effectively clean the pan without harsh chemicals. |
| Use a Nylon Scrub Brush | Use a nylon brush to effectively scrub away tough residue and burnt-on food without scratching the surface of the pan. |
| Try a Non-Stick Pan Rescue Spray | Apply a non-stick pan rescue spray to the burnt areas of the pan, let it sit for a few minutes, then wipe away the residue with a sponge or cloth. |
| Prevent Future Sticking and Burning | Preheat pans before cooking, avoid overcrowding, use oil or butter, let food develop a crust, and cook in batches to prevent sticking and burning in the future. |
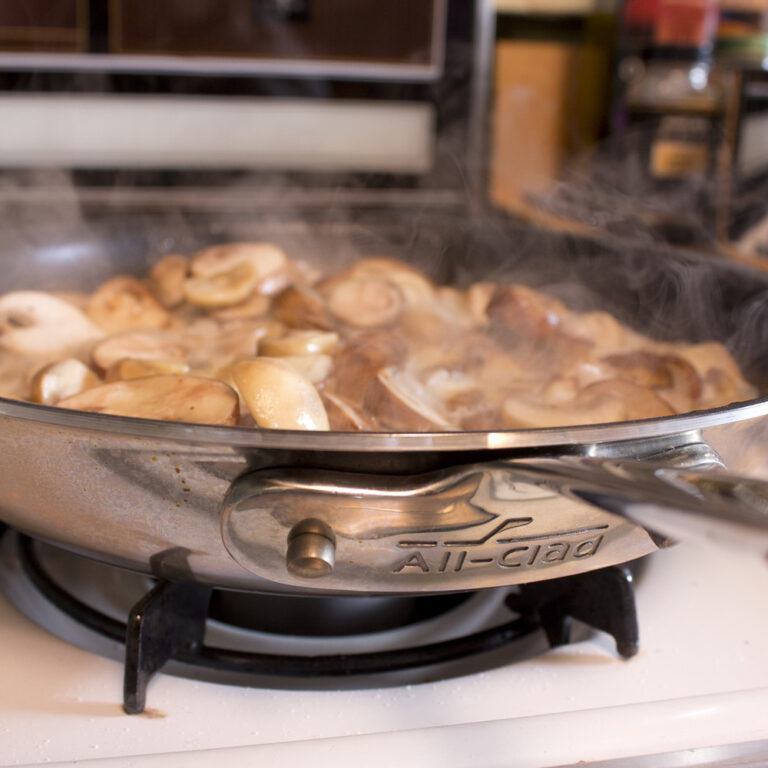
Prevent Future Sticking and Burning
For better cooking results, make sure to properly preheat your pans before adding any ingredients. This simple step can prevent sticking and ensure that your food cooks evenly. By preheating your pan, you allow the oil or butter to fully coat the surface, creating a barrier between the food and the pan.
Additionally, using the right cooking techniques can also help prevent sticking. Avoid overcrowding the pan, as this can cause moisture to build up and lead to sticking. Instead, cook in batches if necessary. Another technique is to let the food develop a crust before flipping or stirring it. This will create a non-stick surface on the bottom of the food, making it easier to release from the pan.
Incorporate these tips into your cooking routine for perfectly cooked meals that never stick!
Conclusion
In conclusion, cleaning burnt non-stick pans can be a tedious task, but with the right techniques, it’s definitely possible to restore them to their original state.
By following the steps mentioned in this article, such as soaking the pan in hot soapy water, using baking soda and water paste, and trying vinegar or citrus cleaners, you can effectively remove burnt residue.
Remember to use non-abrasive tools and consider preventive measures for future cooking mishaps.